






Planning a commercial golf simulator installation requires more than selecting a launch monitor and projector. Successful simulator facilities need proper room dimensions, infrastructure planning, technology integration, and operational preparation before opening.
A commercial golf simulator project involves much more than mounting a launch monitor and connecting a projector. The room, electrical supply, network, lighting, software, hitting surface, impact screen, and tracking system must work together as one operating environment.
Small planning mistakes can create recurring problems after opening. A poorly positioned projector may produce shadows. Inconsistent lighting may affect camera visibility. Insufficient cable access can make maintenance difficult, while weak network planning may interrupt software updates, online play, or multi-bay management.
A reliable golf simulator installation therefore begins before equipment arrives. Venue owners, contractors, technology suppliers, and operations teams should agree on the room layout, equipment schedule, infrastructure requirements, testing process, and handover responsibilities before construction is finalized.
Quick Answer
A successful commercial golf simulator installation requires five key elements: suitable room dimensions, structural support, electrical and network planning, correct equipment installation, and complete system calibration before opening.
Define Your Commercial Golf Simulator Business Model First
The first installation decision is not the room size. It is how the simulator will be used.
A teaching studio, private club, entertainment bar, fitting center, and unattended indoor golf facility may all use similar tracking technology, but they have different operational requirements.
Before creating the floor plan, confirm:
- How many simulator bays will be installed?
- Will each bay be used for practice, course play, coaching, club fitting, or entertainment?
- Will customers book bays individually or as groups?
- Will both right- and left-handed golfers use every bay?
- Will staff supervise each session?
- Will food and beverages be served near the equipment?
- Does the venue require online competitions or centralized account management?
- What is the expected number of operating hours per day?
These answers affect bay spacing, waiting areas, equipment protection, acoustic control, staff access, and network capacity.
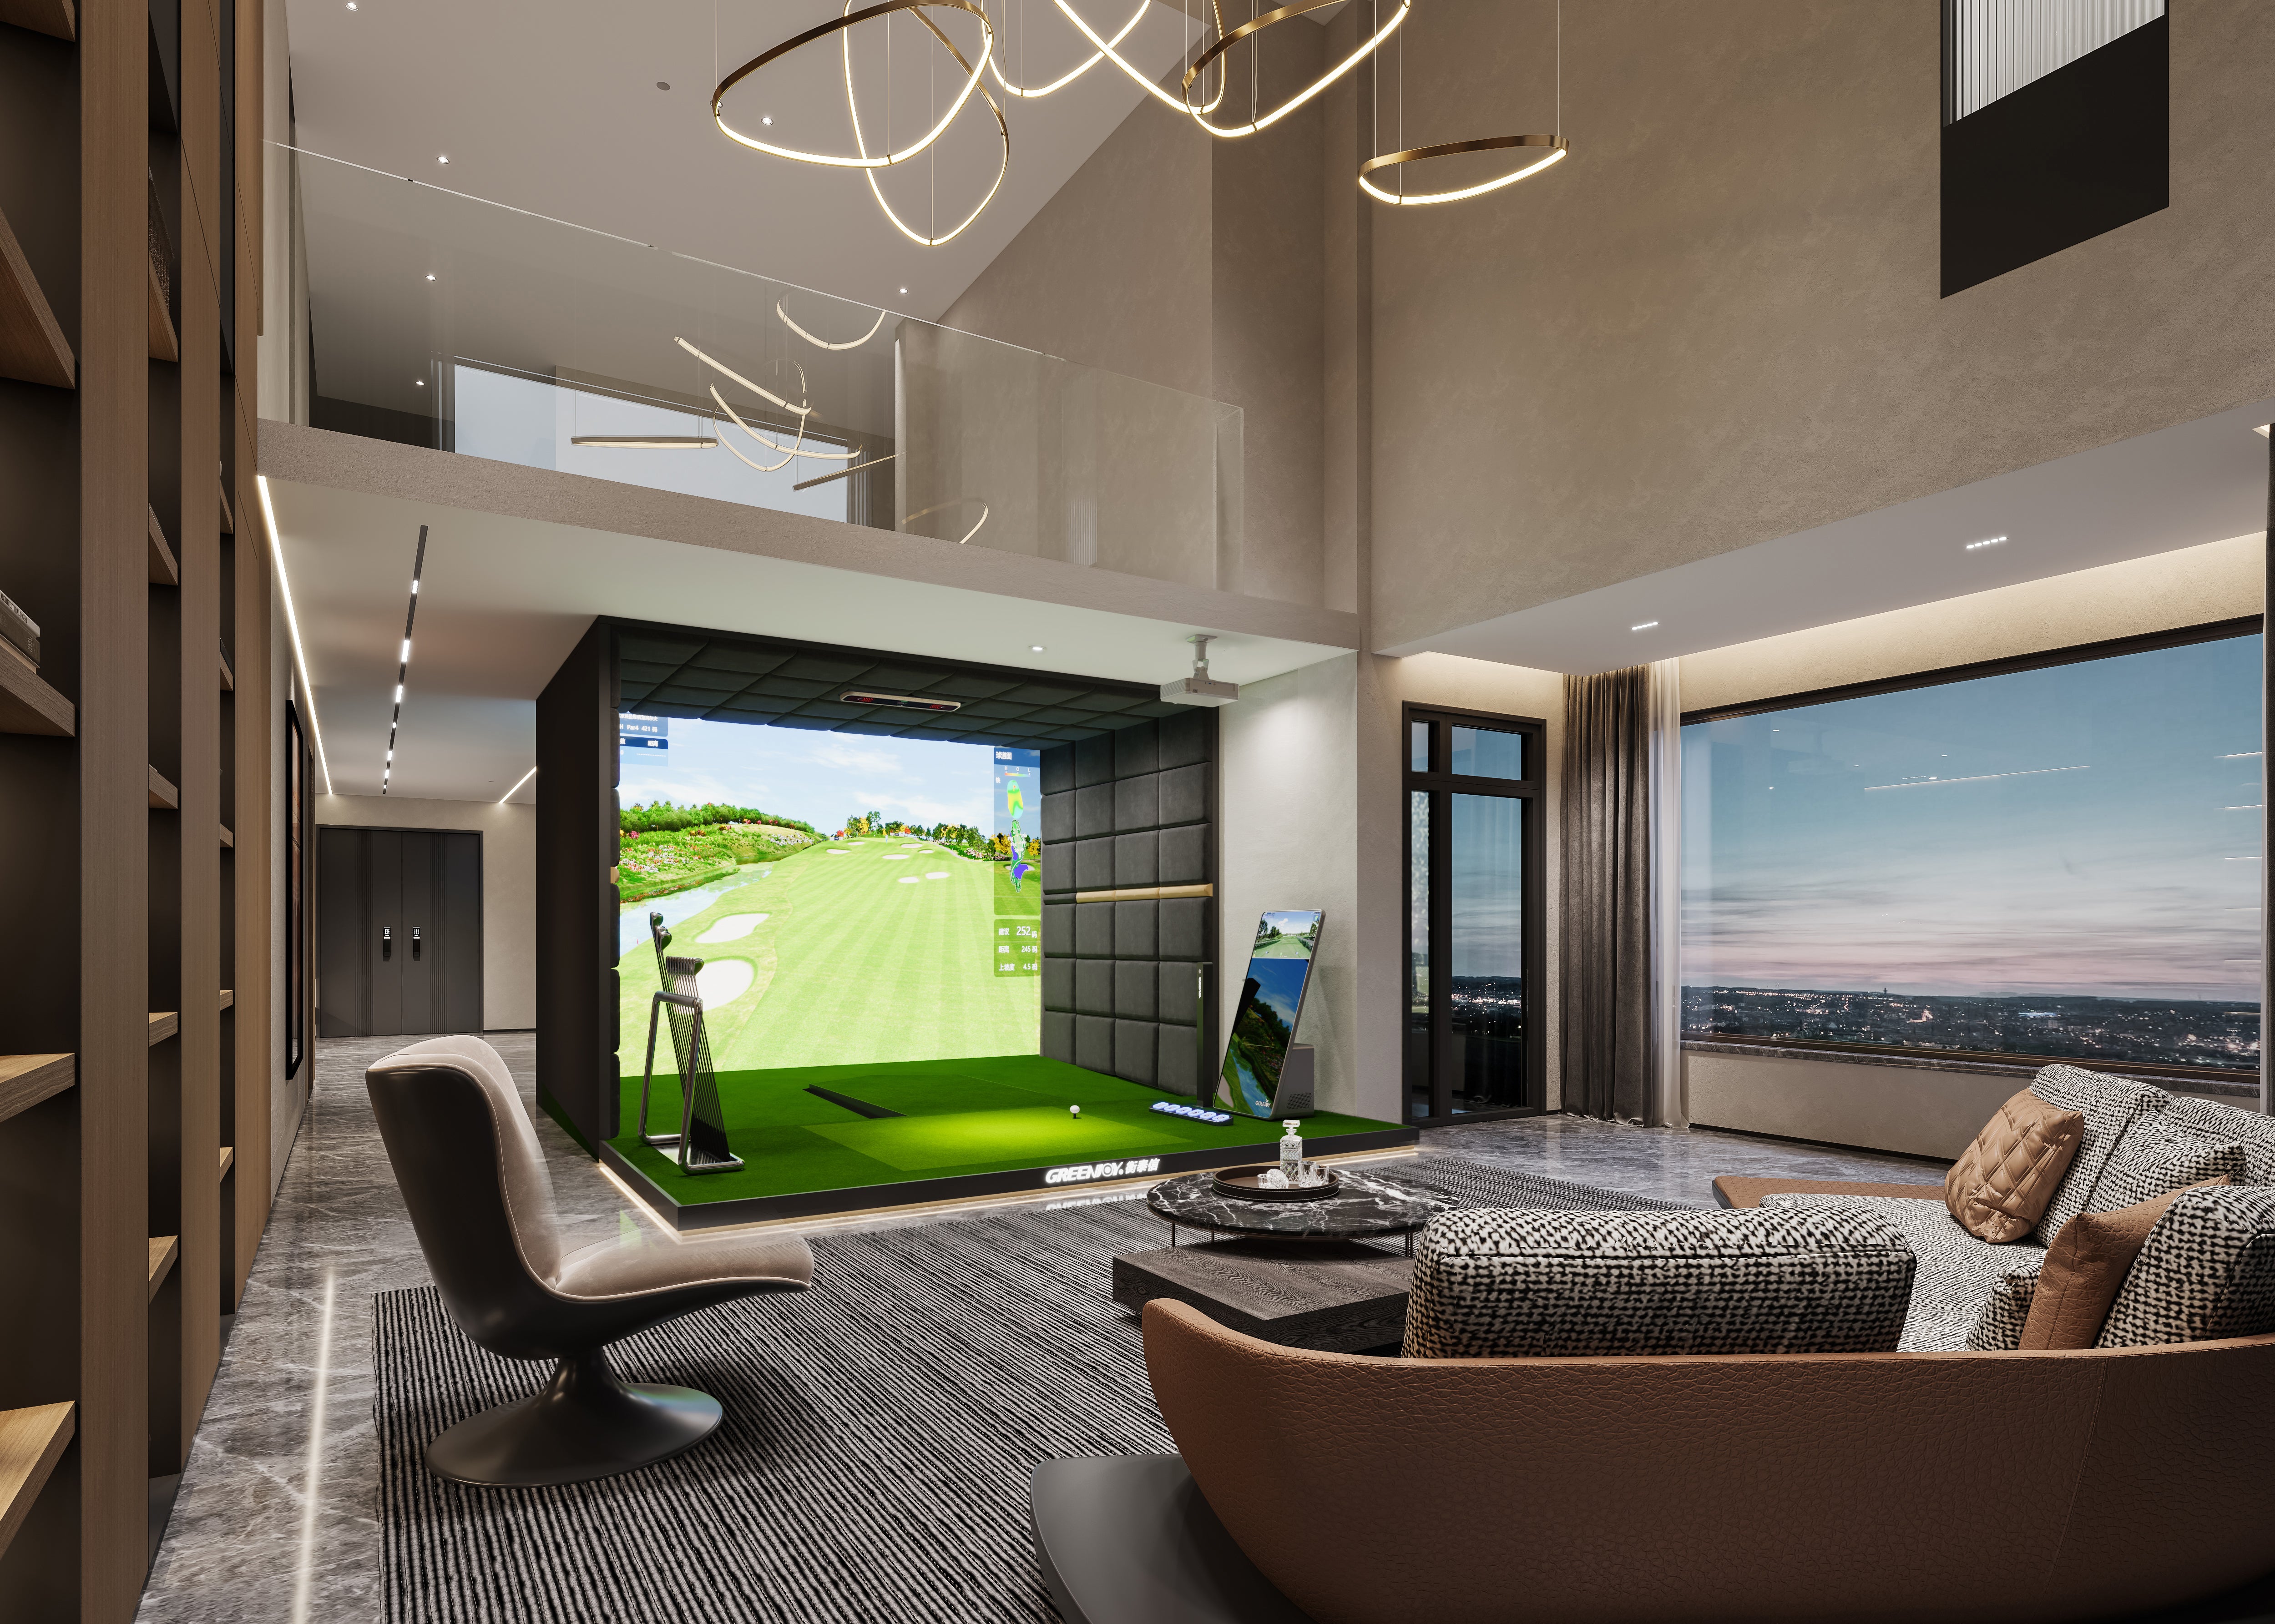
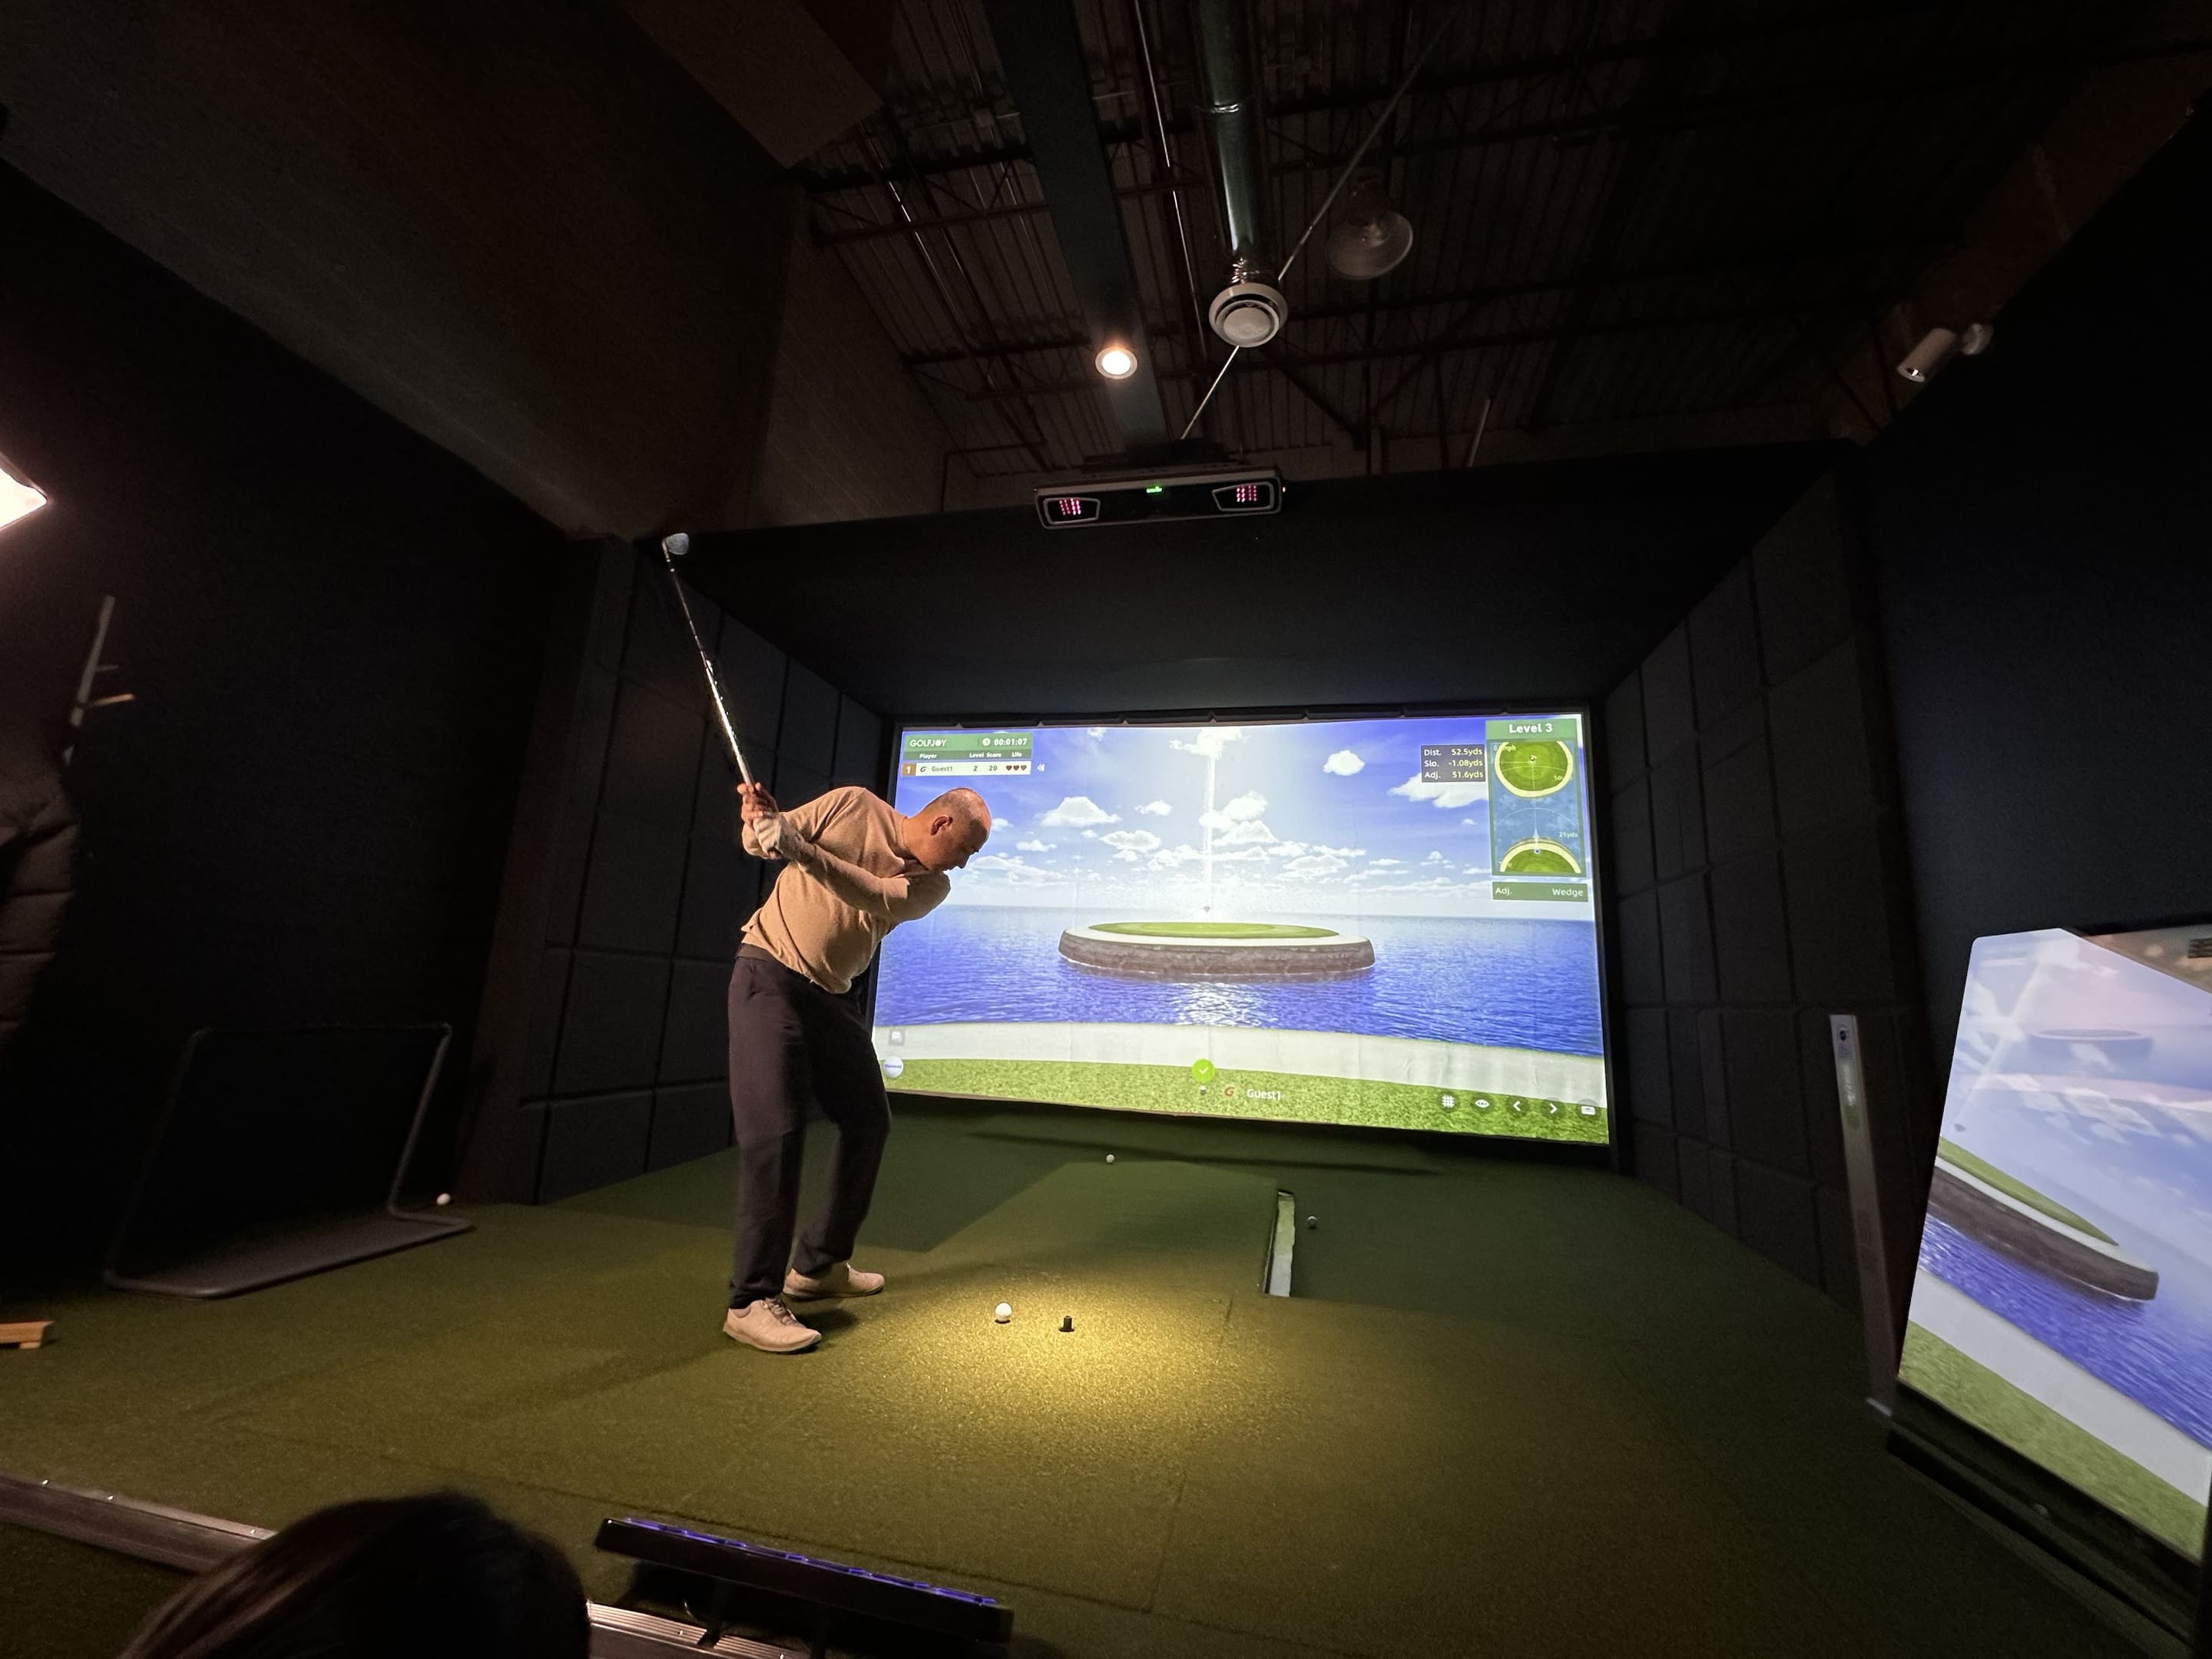
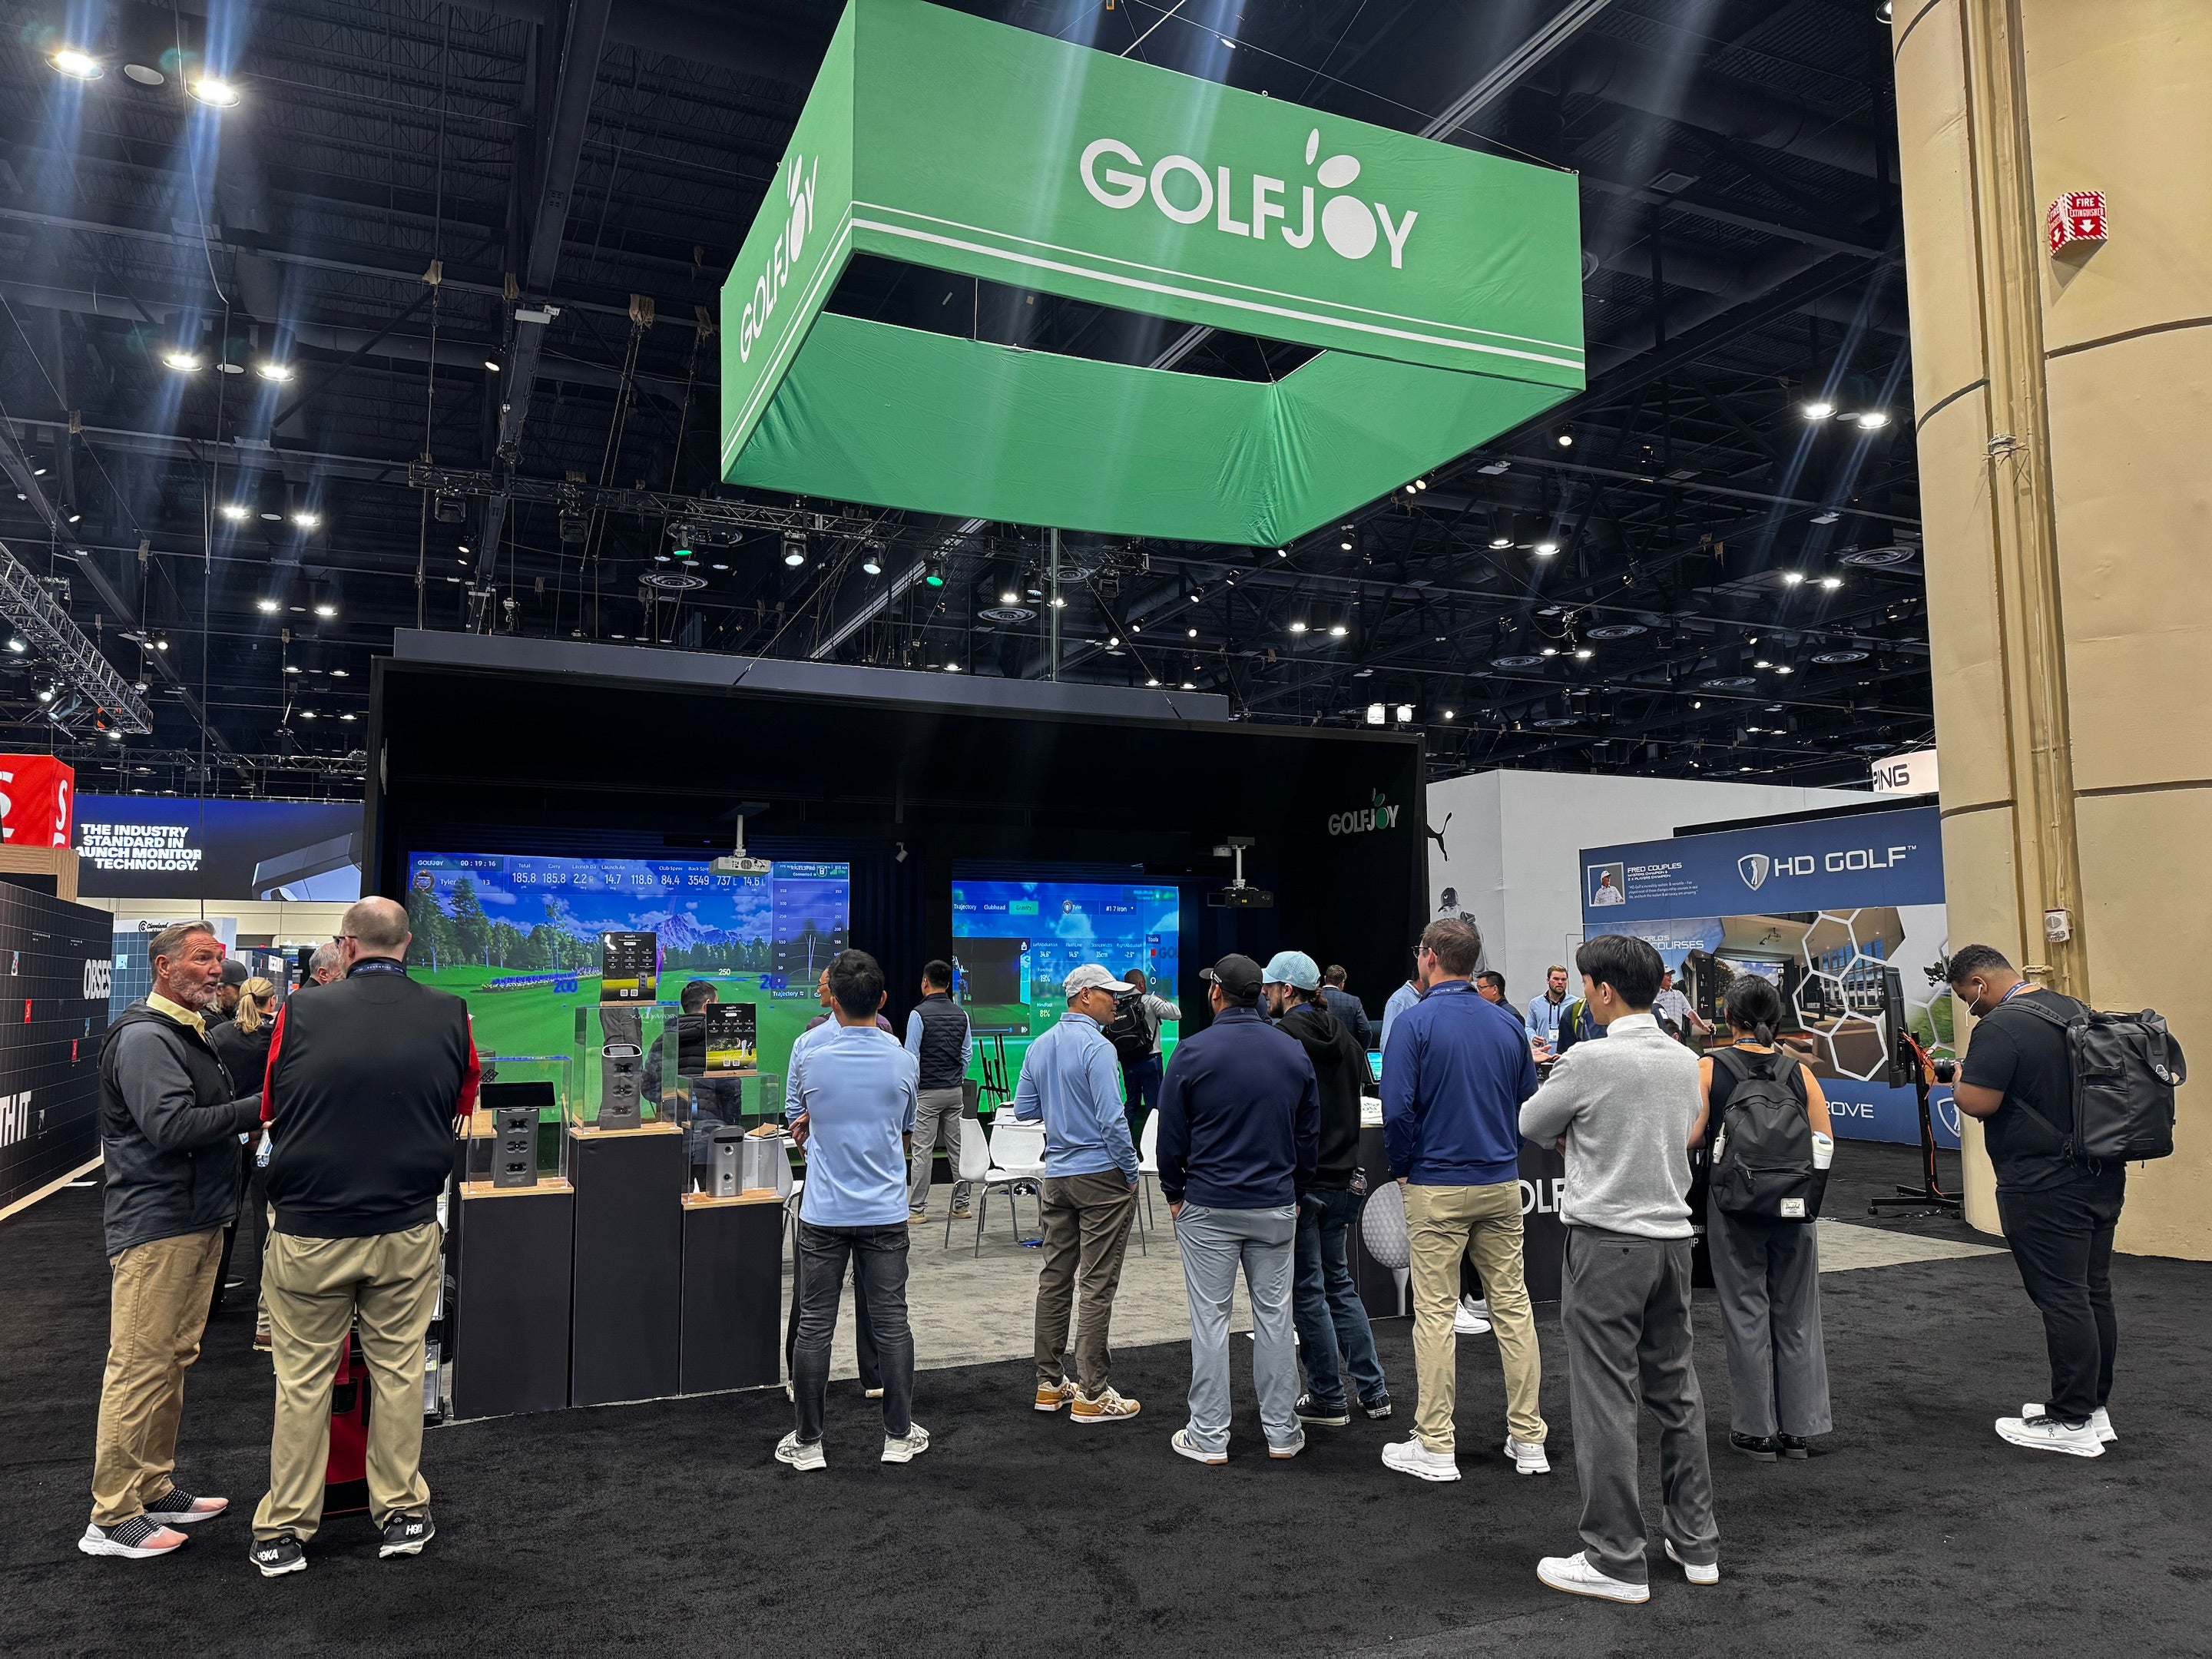
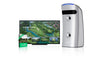
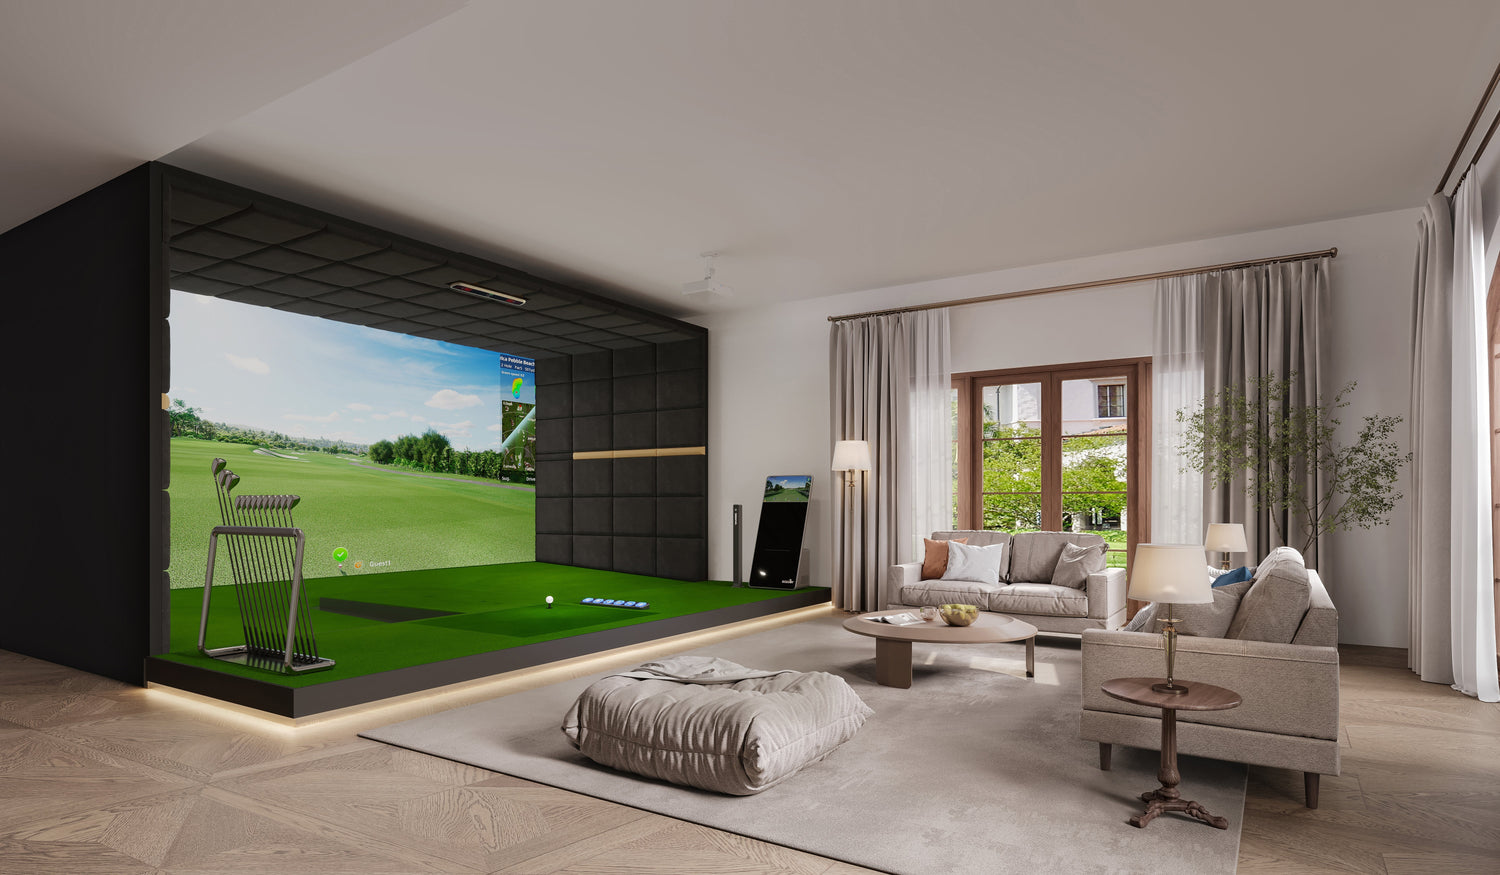
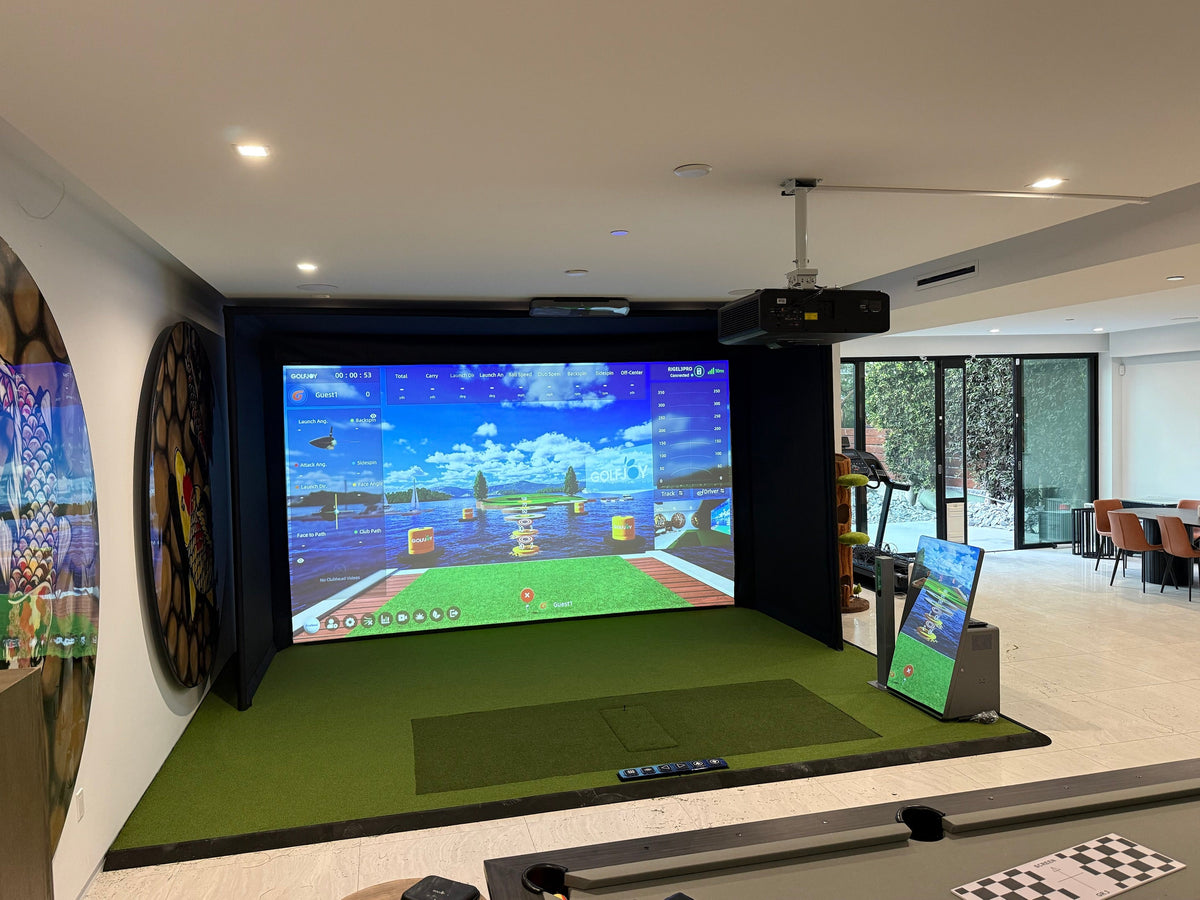
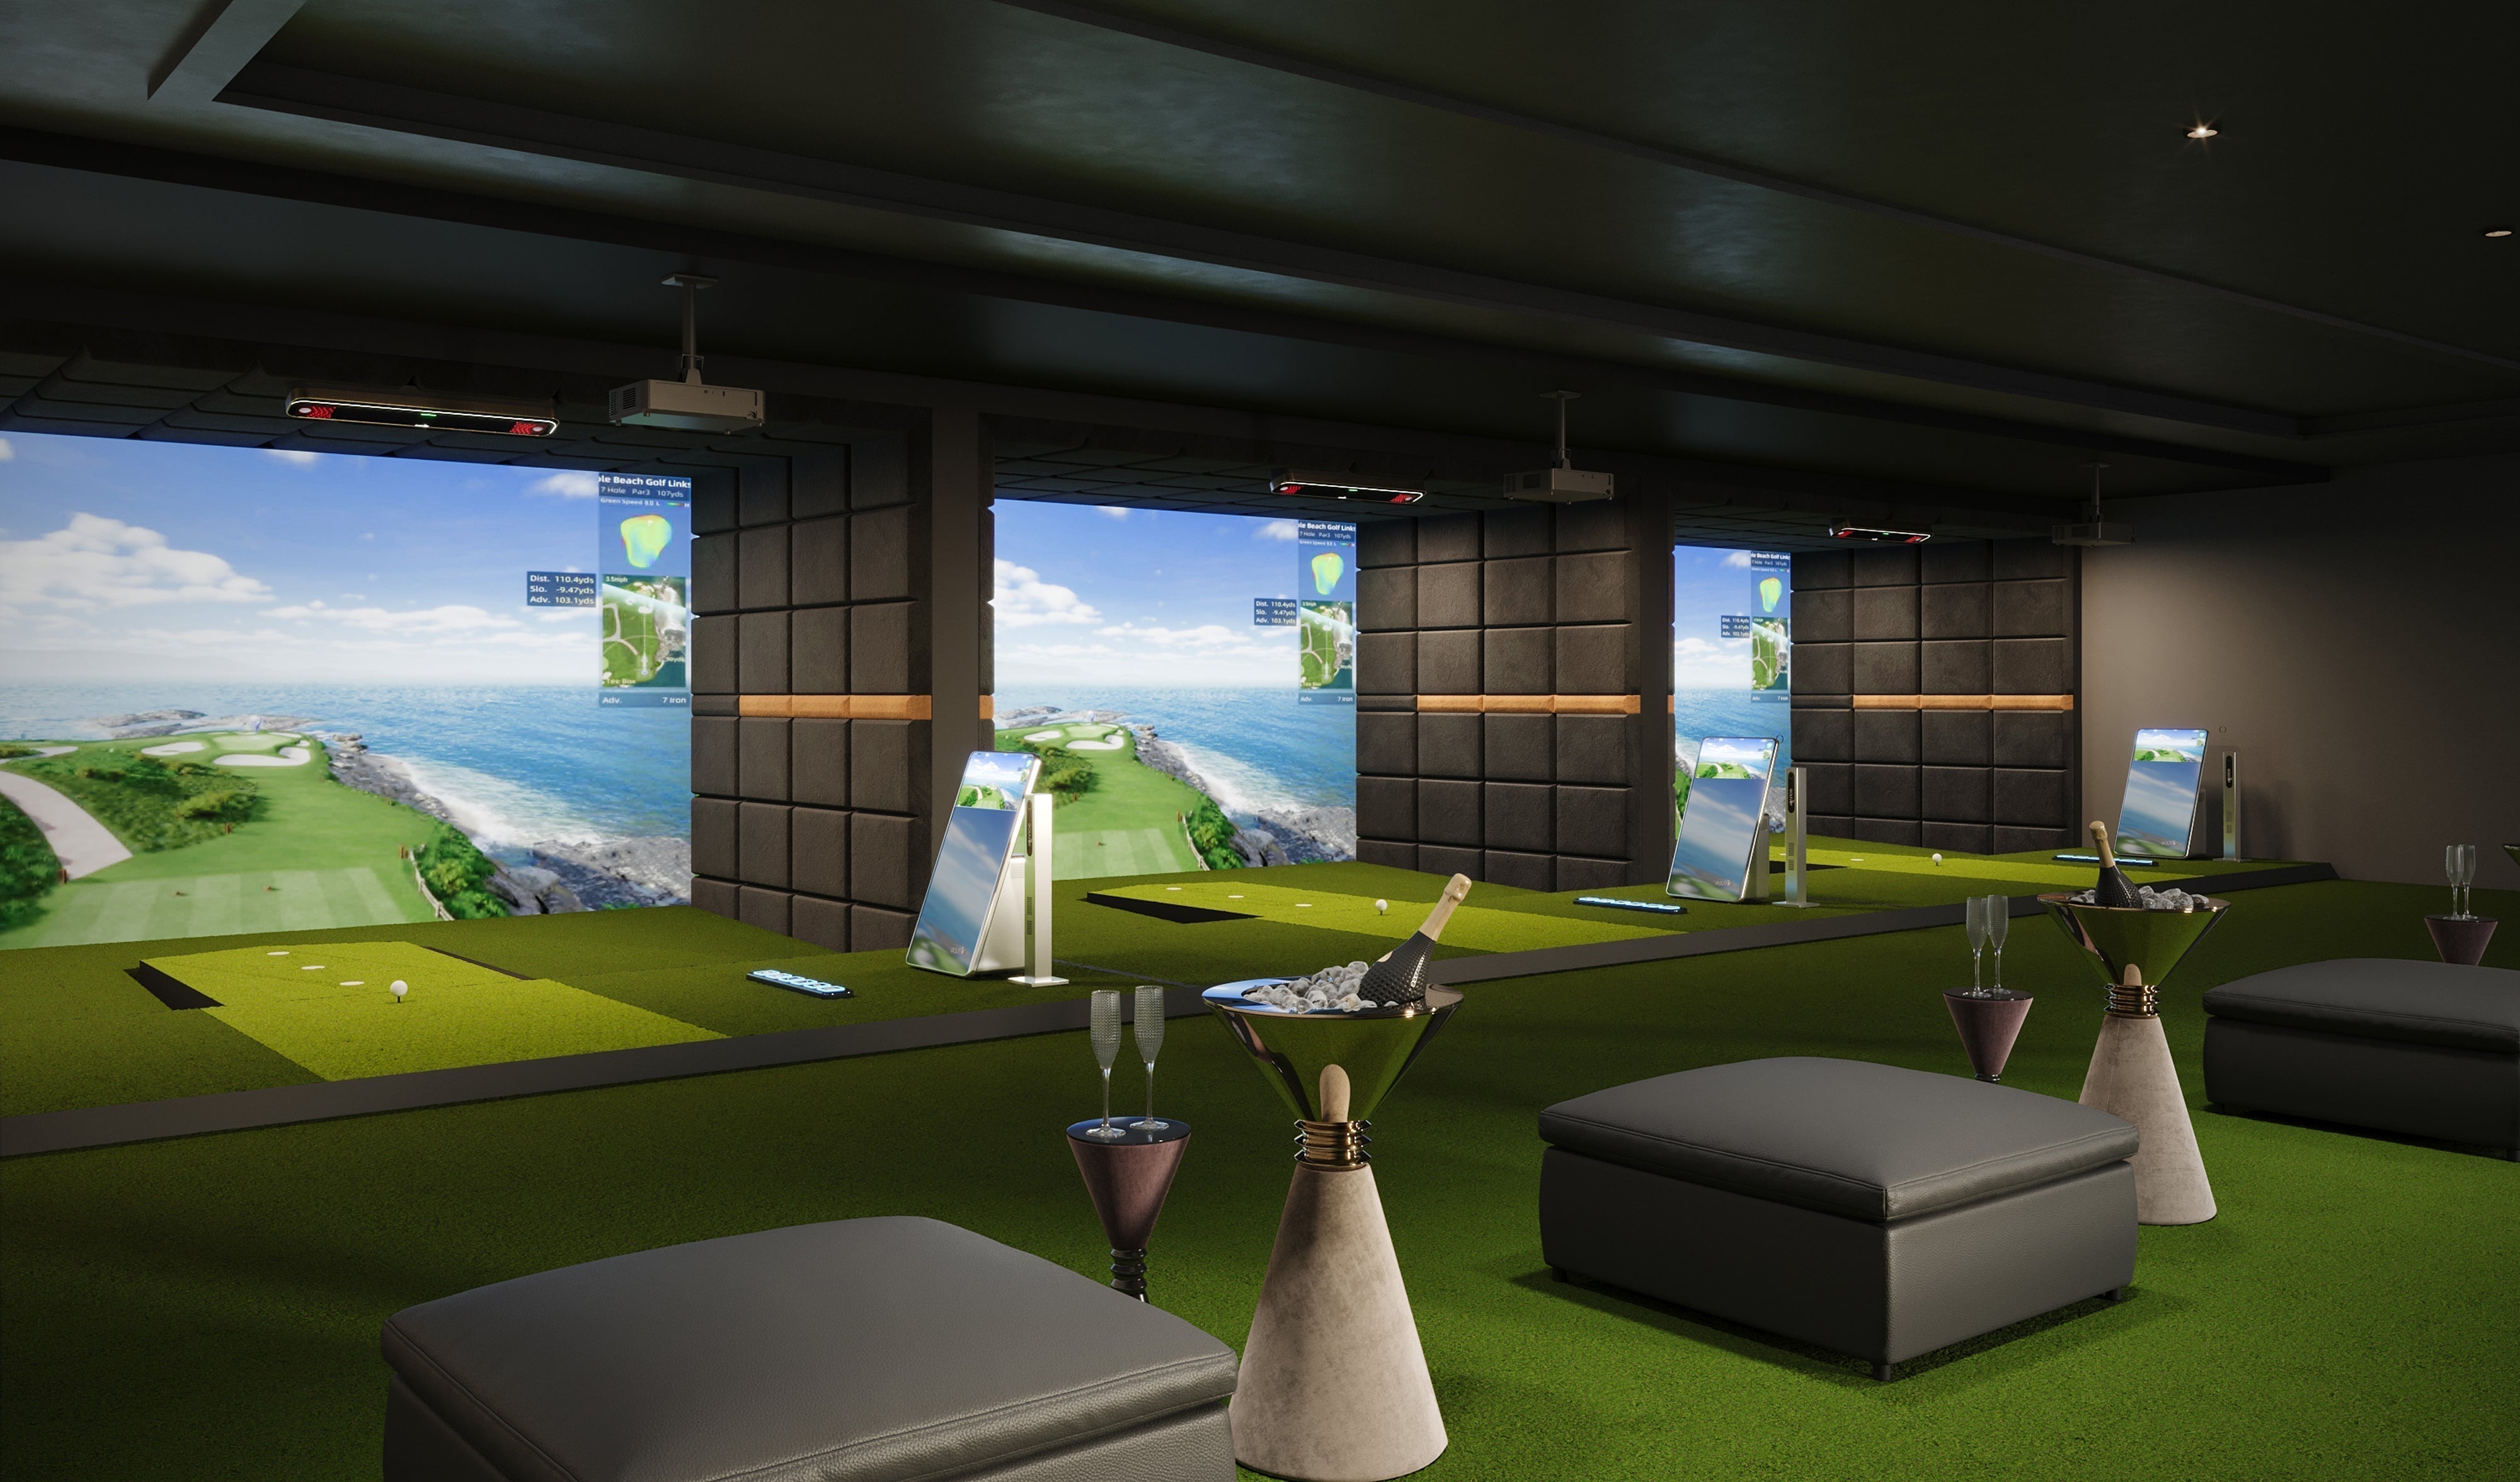
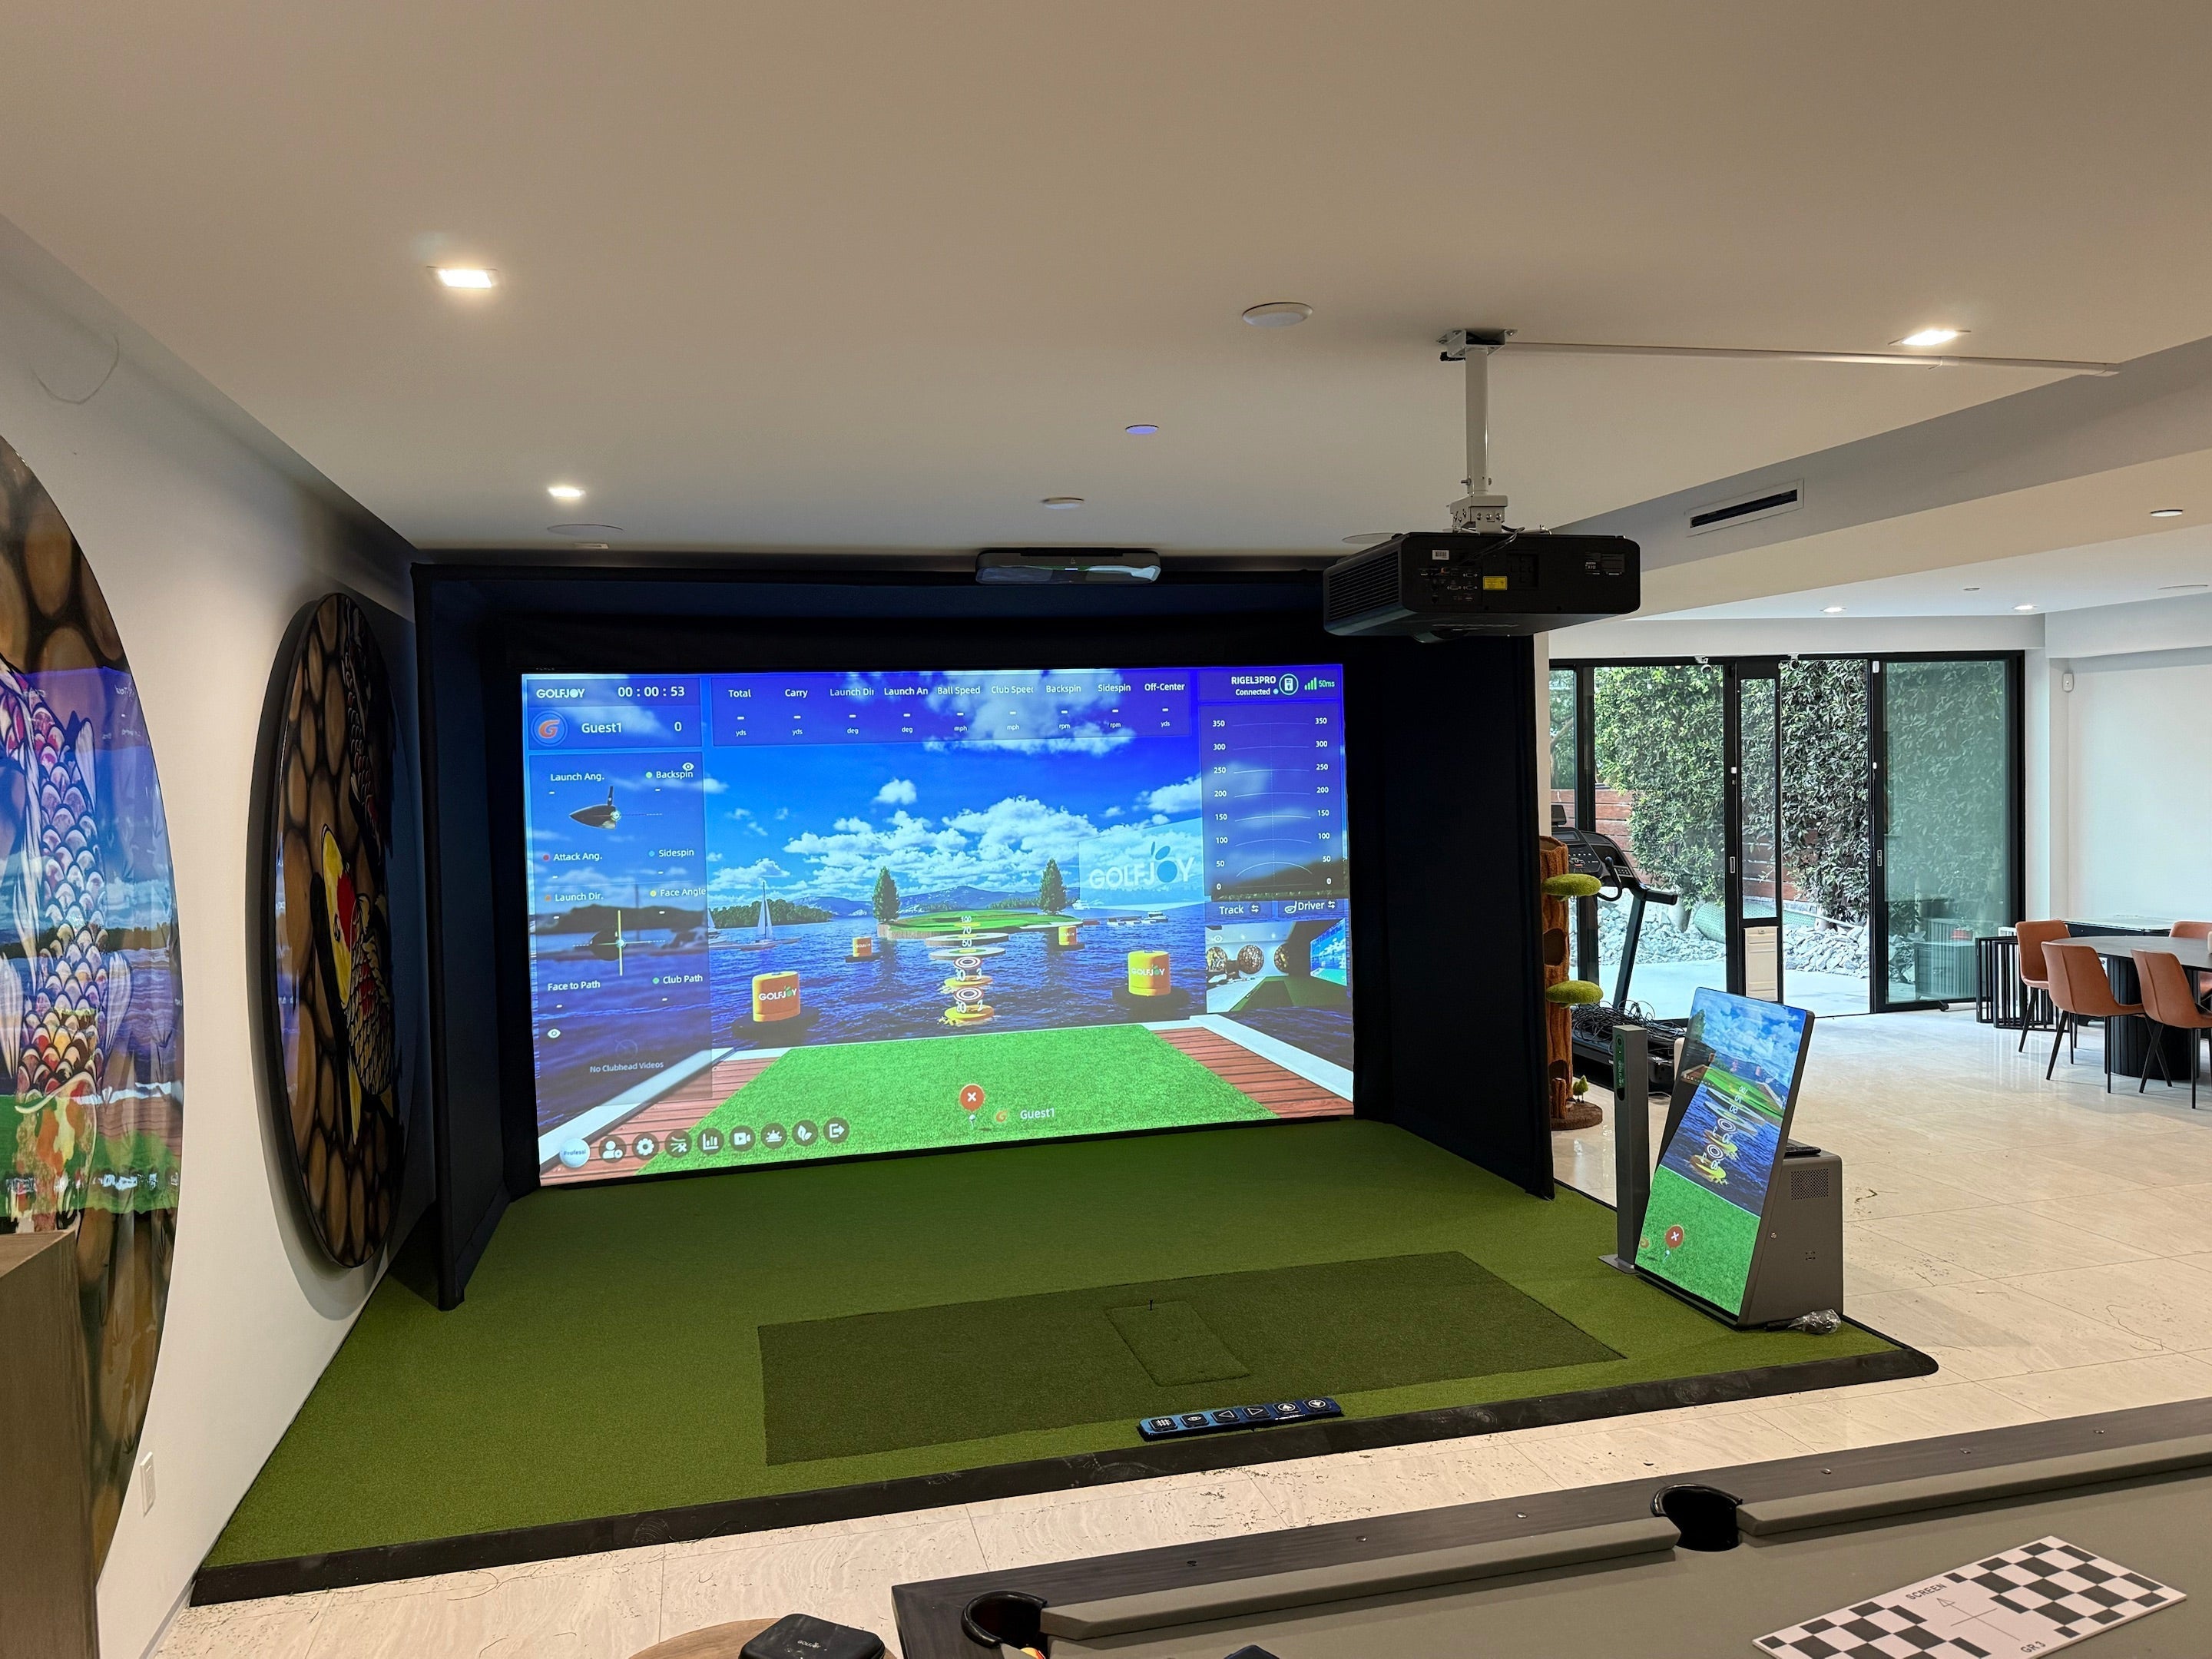
A complete commercial golf simulator may include an overhead tracking unit, projector, computer, smart accessories, hitting mat, impact screen, putting system, tee-up equipment, and simulator software. GOLFJOY’s current overhead simulator range, for example, it offers various configurations such as the S100, S200, and S300, with different launch monitors, computers, putting functions, and automatic tee-up options.
The final equipment configuration should therefore be confirmed before electrical points, ceiling supports, projector positions, and cable routes are fixed.
Check Commercial Golf Simulator Room Requirements
A room survey should record more than width, depth, and ceiling height. It should identify every physical factor that may affect a full swing, ball tracking, projection, customer movement, and equipment maintenance.
Measure the Swing Envelope
The swing envelope is the three-dimensional area required for a golfer to swing safely without contacting the ceiling, walls, lighting fixtures, columns, furniture, or other players.
Test the proposed hitting position with:
- Right-handed golfers;
- Left-handed golfers;
- Drivers and other long clubs;
- Tall players;
- Different stance widths;
- Practice swings as well as full-speed swings.
Do not assume that a room is suitable simply because its overall dimensions appear large enough. Structural beams, suspended lights, air-conditioning ducts, sprinkler heads, and projector mounts can reduce usable clearance.
Map the Equipment Zones
A commercial golf simulator room normally contains several overlapping zones:
| Zone | Planning requirement |
|---|---|
| Swing zone | Unrestricted space for the golfer and club |
| Hitting zone | Correct ball position within the tracking area |
| Tracking zone | Clear field of view for the launch monitor |
| Projection zone | Correct projector distance and image alignment |
| Screen zone | Safe ball impact and rebound control |
| Customer zone | Seating and movement outside the swing path |
| Service zone | Access to the computer, cables, sensors, and projector |
These zones should be marked on the construction drawing rather than planned independently by different contractors.
Check the Ceiling Structure
An overhead tracking system should not be mounted only according to its visual position. The ceiling must also provide suitable structural support, correct alignment, cable access, and enough clearance for maintenance.
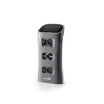
The current GOLFJOY lineup includes both portable and ceiling-mounted launch monitors. Available models use different camera configurations, detection areas, mounting methods, and connection options, so the selected model should be confirmed before the ceiling is closed.
If the building uses a suspended ceiling, the mounting solution may need to connect to the structural ceiling above rather than relying on ceiling tiles or lightweight framing.
Plan Electrical, Cooling, and Cable Requirements
Electrical planning should be based on the complete equipment schedule, not only the projector.
A simulator bay may require power for:
- The computer;
- Projector;
- Launch monitor;
- Display or touch panel;
- Smart pole or swing cameras;
- Audio equipment;
- Automatic tee-up system;
- Putting system;
- Network equipment;
- Cleaning or service equipment.
A qualified electrician should confirm circuit capacity, outlet placement, grounding, local electrical requirements, and surge protection.
Avoid placing all power points at floor level behind the hitting area. Some equipment is ceiling-mounted, while projectors and sensors may require overhead outlets. Visible extension cables crossing customer areas create both safety and maintenance problems.
Provide Accessible Cable Routes
Power and data cables should be separated where appropriate and routed through accessible conduits, cable trays, wall channels, or service panels.
The layout should allow technicians to replace a cable without removing the impact screen, opening a finished wall, or dismantling the entire ceiling.
Label both ends of every cable. In a multi-bay venue, labels should identify:
- Bay number;
- Equipment type;
- Network port;
- Power source;
- Connection destination.
This simple step can significantly reduce troubleshooting time after the venue opens.
Control Equipment Temperature
Commercial systems may operate for many hours each day. Computers, projectors, and enclosed equipment cabinets generate heat, especially in compact simulator rooms.
Do not position the computer in a sealed cabinet without ventilation. Check that air-conditioning airflow does not directly move the impact screen or create uncomfortable drafts around the hitting position.
The mechanical design should consider both customer comfort and equipment cooling during peak operating periods.
Design Proper Lighting for Golf Simulator Installation
Lighting has three separate jobs inside a simulator room:
- Give players enough visibility to address the ball safely;
- Provide stable illumination for camera-based tracking;
- Preserve screen contrast and image quality.
Using one bright ceiling light for all three purposes often produces poor results.
Avoid Strong Shadows and Glare
Fixtures should not create a strong club or player shadow across the hitting zone. Direct glare toward the screen, projector lens, or tracking cameras should also be avoided.
Uniform lighting around the ball and hitting mat is generally more useful than a bright spotlight directly above the player.
Where dimming is required, test the lights at the actual operating level. Lighting that appears acceptable during construction may behave differently when the projector is running and the room is set for customer use.
Separate Functional Lighting
Consider dividing lighting into separate circuits or control zones:
- Hitting-area lighting;
- Customer seating lighting;
- Cleaning and maintenance lighting;
- Emergency and exit lighting;
- Decorative venue lighting.
This allows the venue to maintain a comfortable atmosphere without reducing visibility around the ball or compromising equipment servicing.
Prepare Network Infrastructure for Commercial Golf Simulators
Network planning is frequently postponed until installation day. This is risky for commercial venues, especially when multiple bays require software access, account login, online competition, updates, remote support, or centralized management.
Provide a wired network connection at each simulator bay and at the administration desk whenever the building allows it. Wi-Fi can remain available for customer devices or backup access, but permanent simulator equipment should not depend on a congested guest network.
Different tracking models may support Ethernet, Wi-Fi, Bluetooth, or a combination of connection methods. GOLFJOY’s current product comparison, for example, shows that connection options vary across portable and overhead models.
Create Separate Network Access
For a larger venue, consider separating:
- Simulator equipment;
- Administrative computers;
- Payment or booking systems;
- Staff devices;
- Guest Wi-Fi;
- Security cameras.
This makes access easier to manage and prevents customer traffic from consuming the same network resources used by the simulator systems.
Test Real Operating Tasks
A successful network test should include more than opening a website. Before launch, verify that each bay can:
- Log in to the correct account;
- Load courses and training modes;
- Download required updates;
- Connect to online play;
- Save player or session data where applicable;
- Access remote technical support;
- Recover after a router or computer restart.
GOLFJOY golf simulator software currently combines virtual courses, training modes, games, online competition, analytics, and configuration functions. These features make software and network commissioning part of the installation process rather than a task to complete after construction.
Install the Screen, Projector, and Golf Simulator Equipment
The impact screen, projector image, and hitting position must be planned as one system.
Impact Screen
Check that the screen has:
- Appropriate tension;
- Sufficient clearance behind it;
- Secure edge fixing;
- Protected side gaps;
- Controlled ball rebound;
- Access for future adjustment or replacement.
An impact screen that is stretched too tightly may increase rebound, while insufficient tension can cause excessive image movement and poor visual quality.
The area around the screen should also prevent missed shots from entering wall gaps, striking hard structural surfaces, or reaching adjacent bays.
Projector
The projector position should account for:
- Image size;
- Throw distance;
- Lens offset;
- Aspect ratio;
- Player shadows;
- Ceiling clearance;
- Service access;
- Ventilation.
Test the projected image before permanently fixing the mount. The image should fill the intended screen area without forcing software distortion or creating an obstruction within the swing envelope.
Hitting Mat and Floor
The hitting surface should be level, stable, and aligned with the tracking area. Transitions between the hitting mat and surrounding floor should not create a trip hazard.
For multi-bay venues, floor construction should also consider impact noise and vibration transfer between bays.
A personal golf simulator designed for do-it-yourself installation may package the enclosure, projector, hitting mat, tracking equipment, and software into a relatively standardized layout. Commercial venues usually require additional planning for customer circulation, continuous use, acoustic control, multiple bays, and service access.
Calibrate and Test the Golf Simulator System
Calibration should take place only after the final lighting, floor, hitting mat, screen, projector, computer, and network are in their operating positions.
Do not calibrate in a temporary construction environment and assume the settings will remain correct after furniture, decorative lighting, ceiling panels, or flooring are added.
Recommended Calibration Sequence
- Confirm the launch monitor is level and securely mounted.
- Verify the hitting zone and target line.
- Check projector image alignment.
- Confirm the software resolution and screen ratio.
- Test ball detection from different positions within the hitting area.
- Test both right- and left-handed players where required.
- Check driver, iron, wedge, chip, and putt detection.
- Review ball and club data for unexpected gaps.
- Restart the complete system and repeat key tests.
Record the final mounting position, software version, network settings, and calibration date. These records provide a baseline if tracking performance changes later.
Complete a Commercial Golf Simulator Installation Checklist
The venue should not be accepted based on one successful shot.
Each bay should complete a structured test covering hardware, software, safety, and customer operation.
Commercial Golf Simulator Commissioning Checklist
| Test item | Acceptance question |
| Swing clearance | Can different players swing all clubs safely? |
| Ball tracking | Are normal shots detected consistently? |
| Club data | Are the required club metrics being captured? |
| Projector | Is the image aligned, focused, and shadow-controlled? |
| Screen | Is rebound controlled and are side gaps protected? |
| Software | Do courses, practice modes, and games load correctly? |
| Network | Can the system update and connect online reliably? |
| Audio | Is sound clear without disturbing adjacent bays? |
| Restart recovery | Can staff restore the bay after a reboot? |
| Staff operation | Can employees start, stop, and reset a session? |
| Customer safety | Are cables, steps, hard surfaces, and swing areas protected? |
| Maintenance access | Can technicians reach critical equipment? |
Run multiple sessions at the same time to reproduce peak operating conditions. A multi-bay venue may perform correctly when only one system is active but reveal network, heat, power, or audio problems under full load.
Train Staff Before Opening a Commercial Golf Simulator Facility
Installation is not complete until the venue team can operate and recover the system.
Provide staff with a short operating guide covering:
- Daily startup;
- Customer login or session setup;
- Basic game and practice selection;
- Ball-position guidance;
- Common tracking checks;
- Safe system shutdown;
- Software restart;
- Network restart;
- Cleaning restrictions;
- Technical-support contacts.
The handover package should also include equipment serial numbers, warranty information, software accounts, cable diagrams, calibration records, spare parts, and maintenance responsibilities.
Conclusion
A successful commercial golf simulator installation depends on coordination between room design, structural support, electrical work, lighting, network infrastructure, tracking equipment, projection, software, and daily operations.
Planning these elements before construction reduces costly changes and helps the venue deliver reliable tracking, smooth customer sessions, and easier long-term maintenance.
Before selecting equipment or finalizing the room, document the number of bays, available dimensions, ceiling structure, operating model, software requirements, and planned opening date. GOLFJOY can use this information to recommend an appropriate simulator configuration and installation approach for the project.
FAQ
What information is needed before planning a golf simulator installation?
Prepare room dimensions, ceiling photographs, construction drawings, proposed bay quantity, right- and left-handed use requirements, business type, expected daily usage, network availability, and target opening date.
How long does a commercial golf simulator installation take?
Equipment mounting and calibration may be completed relatively quickly in a prepared room, but the total project schedule also depends on electrical work, ceiling support, flooring, screen construction, networking, interior finishing, and multi-bay testing. Installation time should therefore be confirmed after a site survey rather than estimated from equipment assembly alone.
Can a commercial golf simulator be installed as a DIY project?
Some packaged systems are designed for straightforward assembly, but commercial venues also need to consider structural mounting, electrical compliance, customer safety, networking, acoustic treatment, and long operating hours. Licensed contractors and professional technical support may be required for these parts of the project.
Should every simulator bay use the same equipment?
Not always. A venue may use different bay configurations for casual play, coaching, club fitting, VIP use, or putting practice. However, standardized hardware and software can simplify staff training, maintenance, spare-parts management, and customer support.
What size room is needed for a commercial golf simulator?
Depends on simulator type, golfer height, swing requirements, and equipment configuration. A professional site survey is recommended before construction.
How much does a commercial golf simulator cost?
Cost depends on simulator configuration, number of bays, software, installation requirements, and venue design.

Leave a comment
All comments are moderated before being published.
This site is protected by hCaptcha and the hCaptcha Privacy Policy and Terms of Service apply.